


Human Brain
- Monarch Baker
- Oct 24, 2018
- 3 min read
And how I turned my entire class into real life ZOMBIES!
My fascination for the human brain combined with my educational background in the medical field sparked an interest to attempt this cake. While it fit within the parameter of a student led group therapy session I had to lead for a class assignment. Which was sparked by the topic of Coping with Stress and common thinking errors that cause that unneeded stress. The group session I had to lead just so happened to be the last class before Halloween.

I started off by baking a red velvet cake in a half circle cake pan. (you can use a boxed cake or your favorite red velvet cake recipe) I allowed the cake to cool completely before I removed it .

After it cooled, I did chill it before I attempted to carve. This makes less of a mess and makes it easier to carve. I trimmed the sides off and cut a slit into the top of it (aka the longitudinal fissure) this divides the right and the left hemispheres from each other.

Here you can see the line goes from the front and all the way to the back to separate the brain sides. On this cake I chose to make a simple syrup (recipe below) and coat the entire cake with it.


I then chose to ice the cake with a cream cheese frosting since we're talking red velvet cake. I mean what pairs better than red velvet than cream cheese icing? I then placed it back into the refrigerator to chill again and proceed to prepare the fondant.

I added ivory (or flesh tone) Wilton brand food gel color to the bright white fondant to tone it down and make it more realistic. I took a piece off and rolled them into narrow tubes and used a pairing knife to cut the tubes to the desired length.

So my fondant wouldn't dry out as I worked through this process, I kept my fondant wrapped in plastic wrap.

In a non-unified pattern, start adding your curly tubes (aka the Gyri) on only one side of the hemispheres to start. I'll show you why this is important later.

Fun fact: the lines in between the curly tubes are known as the Sulci.
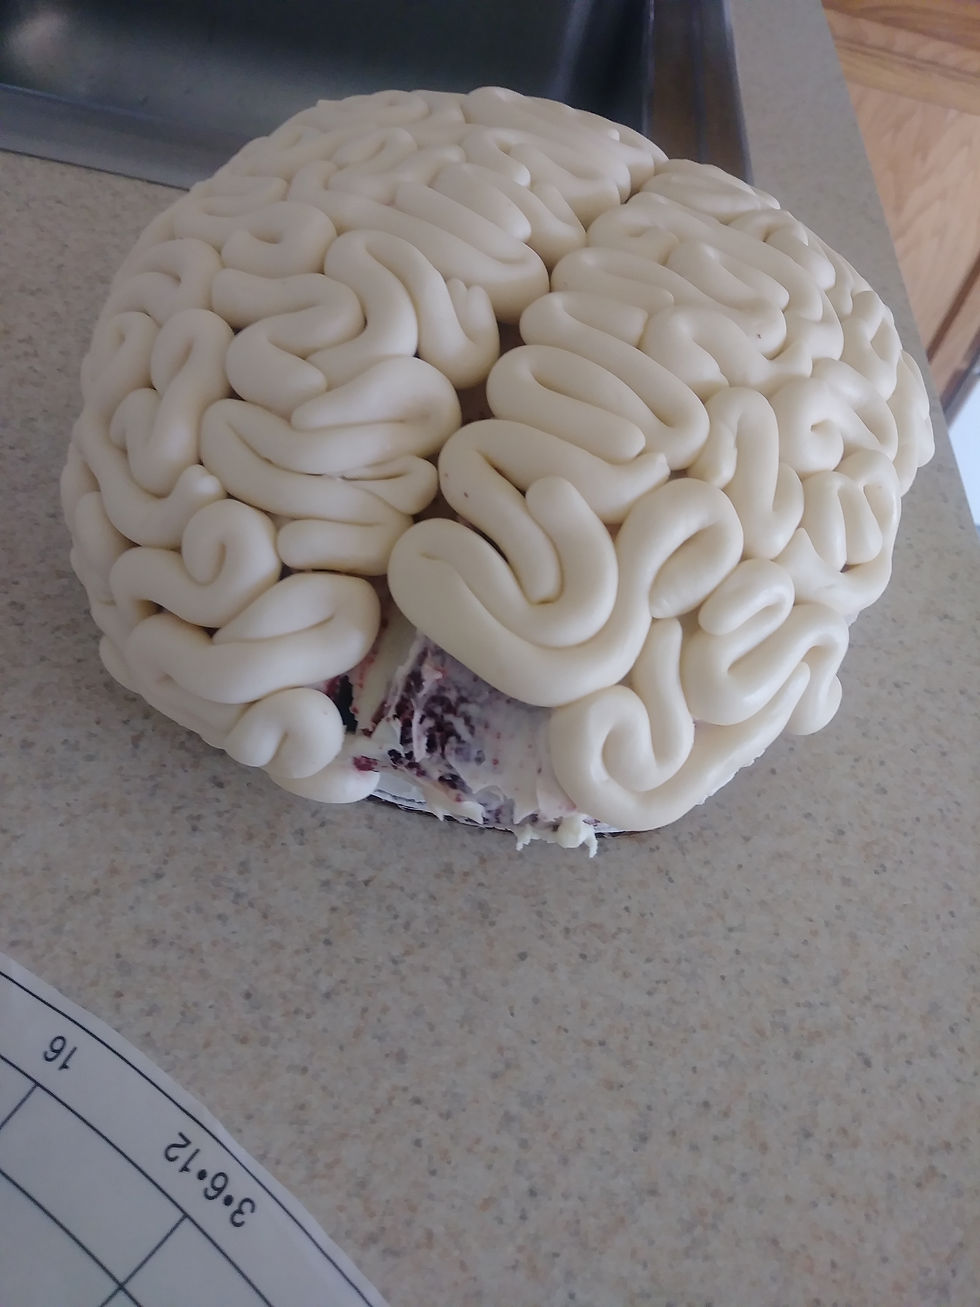
Then just repeat the same process for the other hemisphere. As you can see by doing this you keep the longitudinal fissure noticeably defined. Make sure you don't make them identical as you can see in the photo above. Anatomy does not work that way naturally.

I have the cake sitting on a 8" cake board cut to fit the shape of the brain so you won't see it.

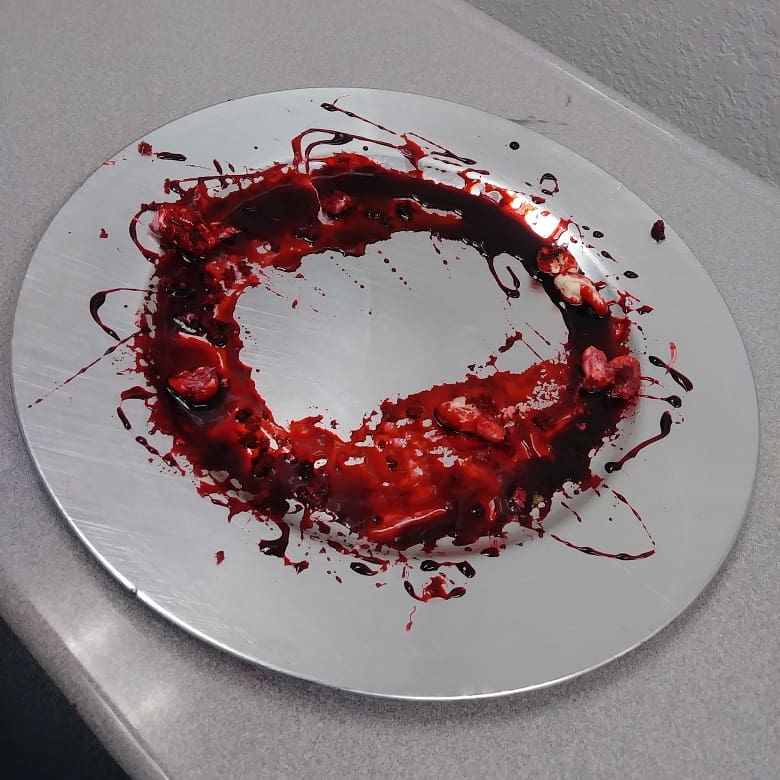
I then placed a small piece of fondant to the plate and sat the cake on top of it to hold it in place. Plus you'll see why we need something to hold all the blood without spilling over the sides and making a mess.
I picked this plate up at a Michael's arts & crafts store for around $2.


Look at of those nooks and crannies that the blood will seep into!


Next step would be to make your edible blood to pour onto your cake. Recipe below for the fake blood. Keep in mind you want to wait till shortly before serving or presenting the cake so the fake blood doesn't ruin the fondant. So if you make this cake the day before wait till the day of the party or event to add the blood.


Any Red Velvet cake recipe or even a boxed cake mix
Simple Syrup Recipe:
(1 part sugar to 1 part water)
! cup of sugar <----- Now you see why it's called SIMPLE Syrup
! cup of water
(I make sure my water is hot to help dissolve the sugar then I let it cool completely)
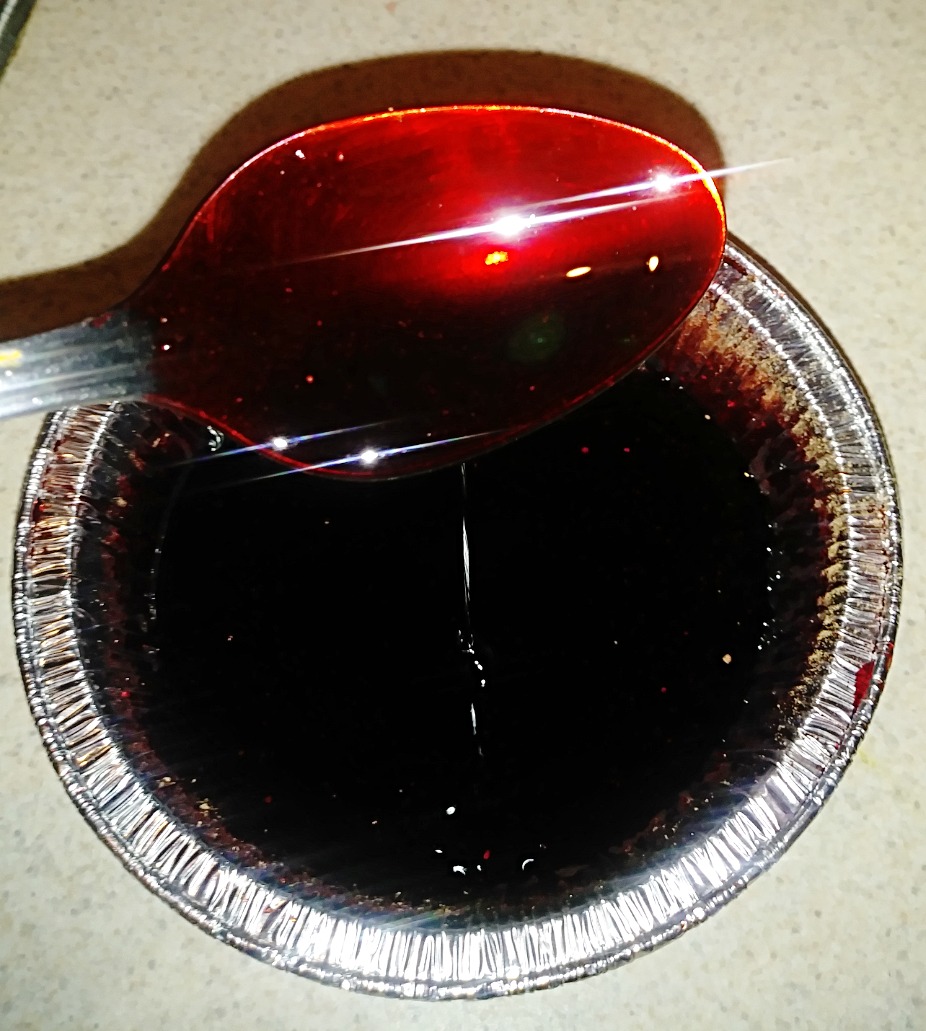
Edible Fake Blood Recipe:
Light corn syrup
Red food coloring (gel works best)
I also used a small amount of airbrush red food color, but water can be used as well to make it less thick and more realist
A tiny bit of blue food coloring
Coco powder (this helps to make it more opaque and realistic) *Cornstarch can also be used.


Comments